


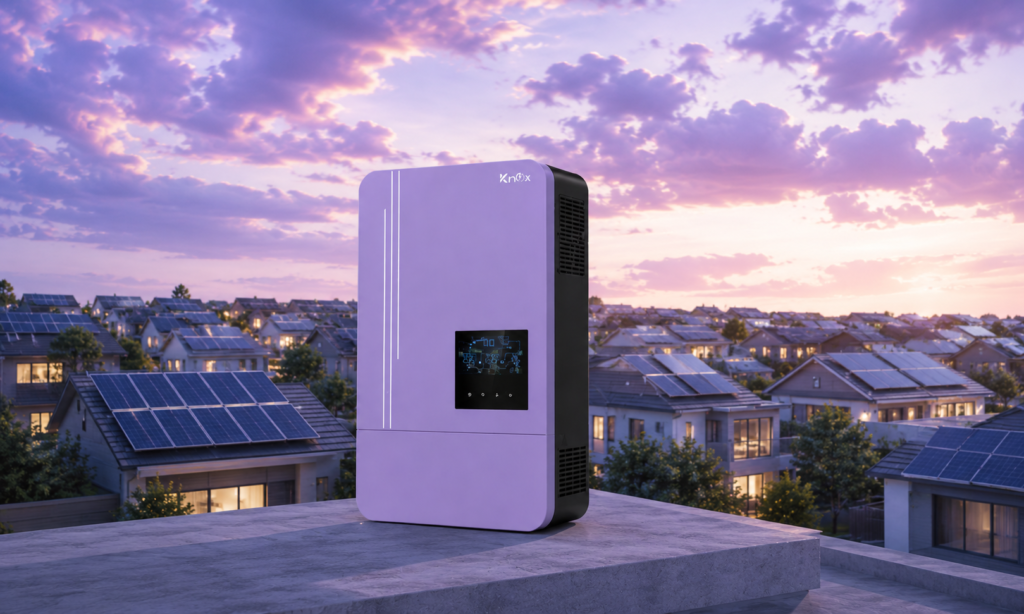
Why Is My Solar Inverter Not Charging the Battery?
You turn on your system, the screen lights up, everything looks fine but the battery level just doesn’t go up. If this has happened to you, don’t worry. In most cases, the inverter itself is not broken. Something else in the system is stopping the charging. And once you find that “something,” the fix is usually quick and easy.
If your setup uses a KNOX inverter or battery, most of these causes are easy to rule out at home before you need to call for support.
Why Charging Sometimes Stops
The thought of charging a battery is not that difficult: plug in the wires, it will charge. However, it’s not so easy. The solar inverter is constantly monitoring all the following: battery voltage, battery temperature, incoming power, and usage. Depending on all of this, it will determine if it should charge the battery or not.
Even one little thing can go wrong if a loose wire is in place, a setting is incorrect, or too much load is on the system, charging can stop completely, while the rest of the system is fine.
That’s why the inverter can provide electric power to your home without a problem but you’re not getting a charge at the battery. Charging the battery and supplying your home are different tasks. One can die, the other can continue to live.
Common Reasons Your Battery Isn’t Charging
1. Loose or Weak Wire Connections
This is the most common reason. A wire that looks tight but isn’t fully tight, a rusty connector, or an old cable can block the charging current. The battery voltage may look normal on the screen, but charging still won’t happen.
What to check: Look at every wire and terminal. Tighten anything loose and clean off any rust or dirt.
2. Wrong Voltage Match
If your inverter is made for 24V but your batteries are set up differently, the inverter will refuse to charge this is a safety feature, not a fault. Wrong battery wiring (series vs parallel) can also cause this.
What to check: Use a multimeter to check the actual voltage of your battery bank. Don’t just trust the label. If you’re unsure what your system was designed for, our Powerwall series specs are a good reference point.
3. Wrong Settings
Modern inverters run on software, and one wrong setting can stop charging completely. Common mistakes:
- Wrong battery type selected
- Charging current set too low
- Charging turned off by mistake
- Wrong cutoff voltage
This often happens after a reset, update, or new installation something we cover in more detail in our Powerwall installation guide.
What to check: Go through your inverter’s settings menu carefully. Don’t assume the default settings are correct for your battery.
4. Battery Too Weak to Charge
Sometimes a battery stays discharged for too long, causing its voltage to drop very low. When the voltage falls below the inverter’s safe charging limit, the inverter may consider the battery faulty or unsafe. As a result, it will not start charging, and the battery remains empty. This issue is also common with old or damaged batteries.
For example:
- The battery was left uncharged for a long time.
- The battery voltage dropped to a very low level.
- The inverter detected the battery as faulty or dead.
- As a result, the inverter refused to charge it.
What to check: Measure the battery voltage. If it’s very low, the battery itself may need attention or replacement.
5. Not Enough Sunlight or Too Much Load
If there’s cloud cover, shade, or a wiring problem with the solar panels, not enough power comes in to charge the battery. On the other hand, if your home is using a lot of power at once, the inverter may choose to power your appliances first and skip charging.
What to check: Notice when charging works. If it only charges at night or when appliances are off, this is likely the reason. Choosing the right inverter size for your load in the first place also helps see our roundup of the best high-performance solar inverters in Pakistan.
6. Weather and Temperature
Very hot weather can make the inverter stop charging to protect the battery from damage. Very cold weather slows down the battery’s chemistry, making charging slow or difficult.
What to check: See if the problem only happens during very hot afternoons or very cold mornings.
Simple Step-by-Step Check
Follow these steps one by one. Don’t skip ahead; each step rules out a problem.
- Check battery voltage with a multimeter both when resting and under load.
- Check all wires, terminals, and fuses for looseness, rust, or damage.
- Check inverter settings battery type, current limit, cutoff voltage.
- Test one power source at a time, solar, grid, or generator to see which one works.
- Turn off extra appliances and wait 15–30 minutes to see if charging starts.
- Check the temperature around the battery and inverter.
- Read any error messages on the inverter screen before resetting anything.
How to Avoid This Problem in the Future
A little care goes a long way:
- Tighten wire connections every few months
- Clean off any rust or dirt
- Don’t run the inverter at full load all the time
- Check inverter settings once a year, especially as batteries get older
- Don’t let the battery stay empty for a long time
Regular upkeep matters more than people expect our solar panel maintenance guide walks through a simple routine to keep the whole system, not just the battery, running efficiently.
Conclusion
If your solar inverter isn’t charging the battery, it’s usually not the inverter’s fault. The real cause is often something simple a loose wire, a wrong setting, a weak battery, or too much load. Go through the checks step by step before thinking about replacing anything. Most of the time, you can fix it yourself in under an hour.
Still stuck after running through these checks? Browse common issues in our FAQs or get in touch with our team for hands-on support.